
A well-designed header is important because it’s the first thing visitors see when they land on your page. Headers are more than just a pretty face; they’re functional, too. They house your site’s logo, navigation menus, and sometimes even a call-to-action button.
These elements help guide visitors through your site, making it easier for them to find the information they’re looking for. Moreover, a cohesive header design reinforces your brand identity, making your website instantly recognizable.
The beauty of WordPress is its flexibility. Whether you’re using a block theme or a classic theme, there are many ways to customize your header template part, from using the Site Editor for a drag-and-drop experience to diving into the Theme File Editor for more granular control. The possibilities are endless, and the only limit is your creativity.
So, are you ready to revamp your WordPress site and make it shine like the star it’s meant to be? Well, you’re in the right place.
Today, we’re diving into the wonderful world of WordPress headers – those top-of-the-page masterpieces that set the vibe for your entire website!
- Why Your Header & Site Logo Matter
- Step 1: Preparing for Your Site Editing
- Step 2: Accessing the WordPress Template Editor
- Step 3: Must-Have Elements For Your Website Header
- Step 4: Edit The Header with Code Snippets
- Step 5: Be Prepared for Mistakes On Your Header Template

Why Your Header & Site Logo Matter
Imagine your website is like a first date. You’ve got one chance to make a killer impression, and guess what? Your website header is your opening line.
A solid header:
- Grabs attention and sets the tone
- Helps visitors find their way around
- Reinforces your brand identity
- Encourages users to take action (like clicking that shiny call-to-action button!)
It’s like your website’s welcome mat but with a little extra flair.
But why stop there? A well-crafted header can also serve as a powerful tool for boosting your site’s SEO. By strategically placing keywords and optimizing your header structure, you can strengthen your website’s visibility on search engines. Additionally, incorporating elements like social media icons can improve user engagement, keeping visitors on your site longer and reducing bounce rates.
Customizing your header allows you to tailor the user experience. Adding a dynamic navigation menu that adapts to user preferences can make browsing more intuitive. Including a site logo block and site title prominently in the header not only strengthens brand recall but also ensures consistency across different pages of your WordPress website.
Finally, consider the aesthetic aspect. A visually appealing header with a cohesive colour scheme and typography can make your website stand out. Using a header builder or theme builder can let you experiment with different header styles and patterns to find the perfect look for your brand.
Pro tip: Don’t forget to test your header’s appearance on various devices to ensure it’s responsive and looks great everywhere.

Step 1: Preparing for Your Site Editing
Before you dive into customization, make sure your theme is up for the challenge. Not all WordPress themes are created equal, and you’ll want one that supports the Site Editor (previously known as Full Site Editing) or the appearance editor. It is basically your site’s dashboard.

Here’s how to check:
- Log in to your WordPress dashboard.
- Peek at the sidebar and find Appearance > Editor.
- If you see it, congrats! Your theme is block-editor-ready.
Step 2: Accessing the WordPress Template Editor
Getting to your header is way easier than you may think. Just follow these steps and start editing the most important elements in your current header:
- Head to Appearance > Editor.
- Click on the Header area and start editing your site icon, logo image, social icons, and navigation block.
- Look for the Template tab and choose Header to see more templates
- Boom! You’re now in full control of your website’s top section!

Step 3: Must-Have Elements For Your Website Header
Okay, now it’s time to make your header pop! Think of it as assembling the ultimate board – a little bit of everything, but totally balanced. The header block is the spot where you can start organizing and customizing all of the header elements.
Once you’re ready to edit your header, it’s important to know which elements you can add or place within it. Here are the must-haves:
- Logo: Your brand’s face. Keep it clear and high-resolution. Use the site logo block to place it effectively within your header.
- Navigation menu: Guide your visitors like a pro tour guide.
- Call-to-Action (CTA) button: Encourage clicks with buttons like Shop Now or Get Started.
- Social media icons: Give people the opportunity to follow your epic content!
- Search Bar: Help visitors find what they need quickly.
You can add these using blocks within the Site Editor. Just hit that ‘+’ icon and explore your options!
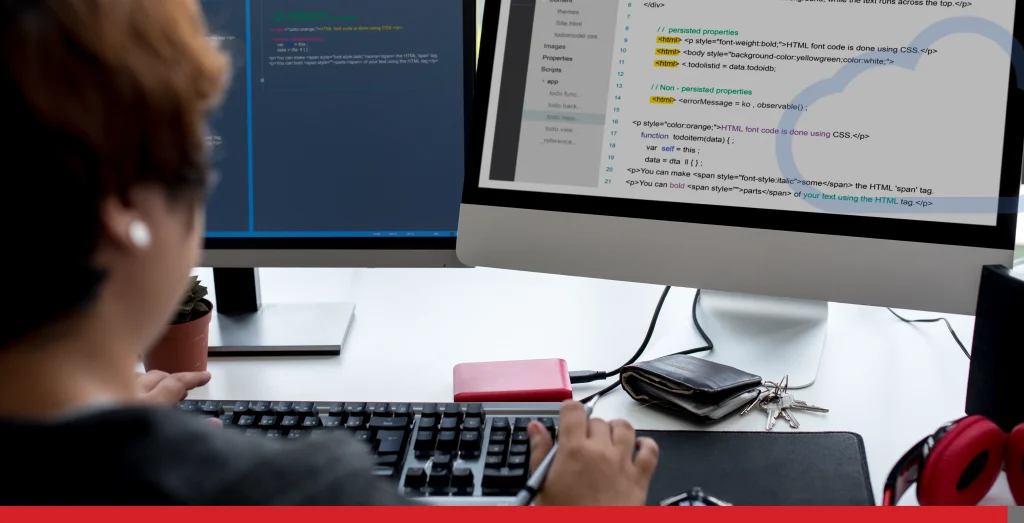
Step 4: Edit The Header with Code Snippets
Another way of editing a header in WordPress is by using code, which is actually very easy, especially if you want to customize your site beyond what the theme allows or if you just want to add custom headers. Remember, the header itself is usually stored in a file called header.php.
To get started:
- You’ll need access to your WordPress theme files.
- You can find these by heading to your WordPress dashboard, going to Appearance → Theme File Editor (or using FTP/SFTP if you prefer).
- Once there, locate header.php within your active theme’s folder, typically under /wp-content/themes/your-theme-name/.
- Always make a backup of this file before making changes, just in case something goes wonky.
Now, let’s say you want to add a custom message or perhaps tweak the navigation menu. You can directly edit the HTML and PHP code inside the header.php file. For example, to add a welcome message, you might add something like this right after the <body> tag:
<?php echo '<p>Welcome to My Awesome Blog!</p>'; ?>If you’re dealing with styling issues or want to change colours, padding, or fonts, you’ll likely need to edit the theme’s CSS file (style.css) or add custom styles using wp_head() by inserting <style> tags within header.php.
Lastly, if your goal is to make more dynamic changes, like adding a custom logo or modifying how the menu displays, you might want to use WordPress functions like get_custom_logo() or wp_nav_menu(). For example:
<?php
if ( function_exists( 'the_custom_logo' ) ) {
    the_custom_logo();
}
?>
Once you’ve made your changes, save the file, clear your site’s cache if necessary, and refresh your browser. With a little experimentation, you can create a header that matches your vision perfectly!

Step 5: Be Prepared for Mistakes On Your Header Template
Mistakes can happen on a WordPress website, especially if you’re constantly editing things on your template and appearance. Here are the most common mistakes and how to overcome them!
- Third-party widgets overload: Too many widgets = a slow website. Widgets are great for adding functionality, but overloading your site with them can lead to slow loading times, frustrating your visitors and potentially driving them away. Prioritize essential widgets and remove any that are not adding value to your website’s functionality.
- Bad code snippets: A misplaced semicolon can wreak havoc! When adding custom code to your site, always double-check for errors. Even a small mistake can break your site or cause unexpected behaviour.
- Ignoring mobile design: Always check your site on phones and tablets. With the majority of users accessing websites through mobile devices, ensuring your header is responsive is crucial. Test your header on various devices and screen sizes to ensure it looks great and functions well everywhere!
- Performance drag: Bulky headers can tank your site speed. Test it using tools like PageSpeed Insights. A slow website can negatively impact user experience and search engine rankings. If you want to deeply invest in checking your site’s performance, we recommend you read our article Boosting Your Website’s Speed: Simple Optimization & Performance Tricks.
The key to a great WordPress website’s header? Testing! Try out different fonts, colours, and button styles. Get feedback from friends, followers, and your partner (they’re honest!). Experiment with different header layouts and elements to see what resonates best with your audience.
Then, iterate. Adjust. Improve. Until your header is everything your website dreams of. Regularly update and refine your header to keep it aligned with your brand’s evolving identity and to incorporate new design trends or technologies. Keep an eye on analytics to understand how changes impact user engagement and make data-driven decisions for continuous improvement!
Conclusion
A well-crafted header not only enhances the visual appeal of your site but also plays a key role in user experience and SEO. By incorporating strategic elements like a dynamic navigation menu, social media icons, and a prominent call-to-action button, you can guide visitors seamlessly through your site. Also, customizing your header with unique styles and patterns can reinforce your brand identity, making your website instantly recognizable.
Don’t underestimate the power of testing and tweaking. Regularly updating your header design ensures that it stays aligned with current design trends and meets the evolving needs of your audience.
That’s it! You’re now equipped to transform your WordPress header into a visual masterpiece. Keep things fresh, stay on-brand, and remember – your header is like your website’s handshake. Make it memorable!
If you want to improve your website’s overall design, we’ll be glad to provide expert digital marketing services for your brand. We offer professional website-building services to small companies!
Give us a call or send us an email if you want to start a new chapter for your website with EasyHosting.
support@easyhosting.com
Call us: 1-888-390-1210
FREQUENTLY ASKED QUESTIONS
Can I have different headers for different pages?
Absolutely! WordPress lets you create unique headers for specific templates. By using the appearance editor or a theme builder, you can design multiple custom headers tailored to different page layouts.
What if my theme doesn’t support the Site Editor?
No problem! You can use classic plugins like Elementor or Beaver Builder to edit headers without switching themes. These plugins offer a drag-and-drop interface, making it easy to customize your header’s appearance without touching the theme files.
How do I fix the “Cannot modify header” error?
This usually means there’s a code issue. Try disabling recent plug-ins or checking your functions.php file for extra spaces or errors. This error often occurs when there is unexpected output before the header function is called. Ensure that there are no blank lines or spaces before the opening <?php tag in your theme files. If the issue persists, consider consulting with a theme developer or using a plugin like Health Check & Troubleshooting to diagnose and resolve the problem without affecting your live site.
How often should I update my header design?
A good rule of thumb is to refresh it every 6-12 months or when you’re making significant branding updates. Regular updates ensure that your website’s header remains aligned with current design trends and user expectations. Moreover, periodic reviews allow you to incorporate new features or technologies that enhance user engagement and improve SEO.